August 21, 2013
From "EW" to "Oooh!"
OK, let me start by saying: I am MORTIFIED to share my former kitchen cabinets with you guys.
Holy cow. They. were. HIDEOUS.
Most of the kitchen was, actually. But, that's a future blog post.
The cabinets were easily the worst part of it all. And they were so DIRTY. (Ewwwww.)
They'd been in my house since it's birth, some time in the early 1700's. (Ok, 1970's ... same thing.)
And I don't think anyone ever, EVER, cleaned them - before I moved in. Not even a little bit.
Since I've only lived here for five years, that makes what? At least 30 years of grime and grease?
YEAH. Gross.
So are you ready to see them?
Here we go:

GAHHHHH!!
I feel as though I should run and hide out of embarassment!
Seriously though, weren't they SO gross? Lucky for you guys, the hubs had already removed the hardware when I snapped this picture. Because, wowza, THAT stuff was BAD. It was gold, and as you can see from the holes, it was in the middle of each cabinet ... sooooo weird.
I am very happy to report that my cabinets no longer look like that!
Here they are today:

Ahhhhhhhh.
I think I hear angels singing.
Seriously though, it is SO nice to say "Oooh" instead of "EW," when I walk into my kitchen.
Getting from the before to the after just took a little bit of wood filler, A LOT of sanding, and then some patient painting.
The wood filling was easy. A little bit of this went over each of those old hardware holes:
 |
| {Source} |
And BAM, it was like the oddball, middle-of-the-door, holes never existed.
But the sanding ...
My word, the sanding was awful.
The grease build up was so bad that the first rub with the sandpaper would merely clean off the dirt.
Lucky for me, my husband's done
The first thing to sand were the built in compartments of the cabinets:

The hubs used a power sander for most of this work. So, that part was easy.

But, most of the work had to be done by hand, in the garage, once the doors and cabinets were off. The grooves needed 60 grit sandpaper, and 120 grit was used for the rest.
While he worked on sanding the cabinets, I started priming and painting the built-ins. That was way easy.
And once the sanding work on the cabinets was done, the real painting job began.
I primed:

and primed ...
and PRIMED.
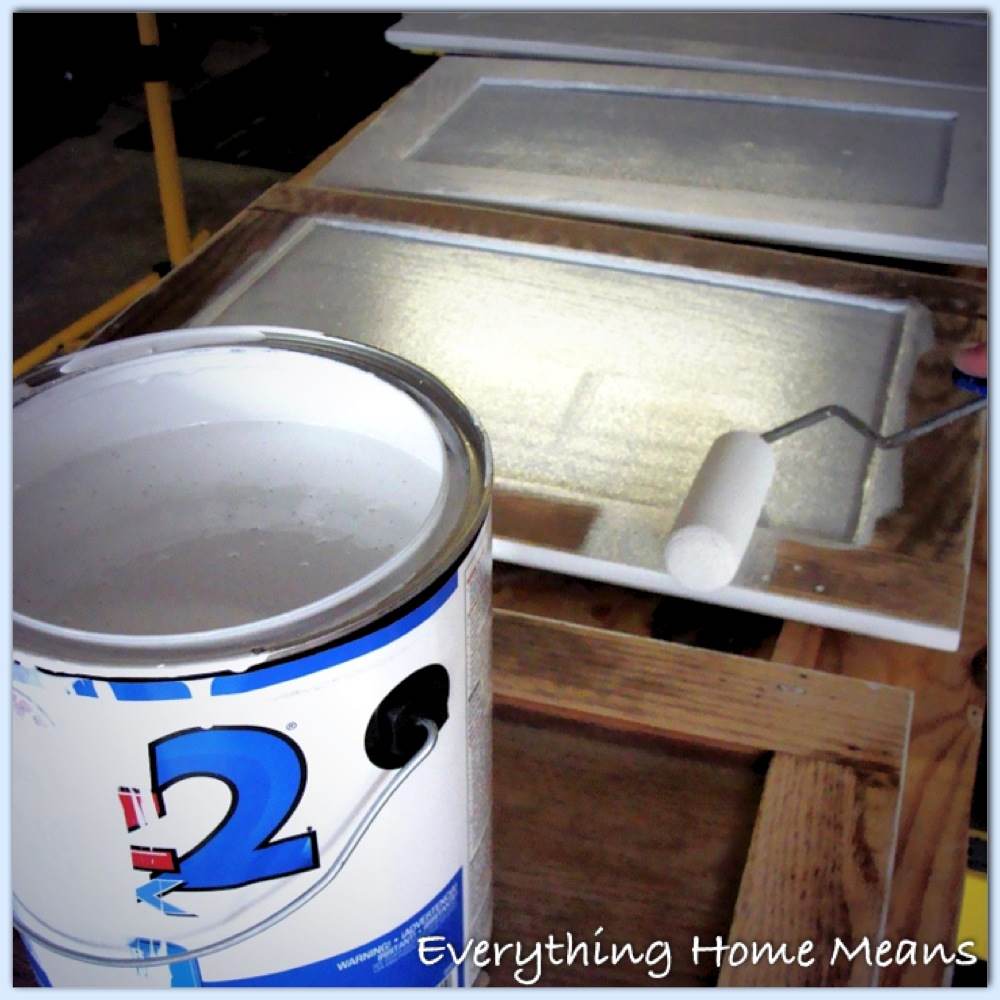
I used KILZ, as shown in the picture above. And I gave each cabinet door three coats of the stuff, on both sides ... with each coat drying in between.
I used a cabinet roller most of the time:
 |
| {Source} |
After I finished priming I did two coats, on each side, of the Valspar, Paparazzi, paint I picked. I used the "Paint and Primer in One."
Then it was time to put on the new hardware! A little drilling here, and little screwing there, and WA-LAH!

It's like all that "EW" never even existed. :-)
Here's a before and after:

Mmmmm, I just love that after so much.
I cropped most of the pictures reallytight, because the cabinets are NOT the only change we've made in the kitchen.
I plan on doing a "Kitchen Reveal" post, some time in the near future. ;-)
Hugs!
No comments:
Post a Comment