Saturday

New DIY Mantel Shelf

August 31, 2013

More Mantel Shelf to Love

................................................................. 

Hey there everyone!  It is good to be back from vacation.  My family and I had such a BLAST boating, and soaking up this last week of summer.  

Speaking of summer, I cannot believe it's over!  Honestly, though, I'm actually really excited.  Fall is my absolute FAVORITE season.

And that kind of brings me to the topic of this post.

My mantel shelf.  

About a week ago I did NOT have much of shelf to love:
 

It was small.


And it definitely was NOT fulfilling my "I don't have a fireplace mantel to decorate" angst.  

The whole thing was actually kind of upsetting, because up close it was a really beautiful piece of wood:

My husband built it for me out of some cherry we had in the garage.  

But ... it just wasn't enough.

So, I first looked online for a new, bigger, shelf to buy.  I found one from Pottery Barn that I kind of loved:
Benchwright Shelf
You can find it here.
But, let's be real.  I'm wasn't about to spend $299.

SO ...

I showed that Pottery Barn version to my handy hubs.  And he came back to me with this:
Not only did he want to build me another one, but he ALSO said it would only cost us around $50 if we used pine.  So, naturally, I said "Go for it!" :-)

And, now, I'm very happy to report ... I have this


Wowzer.

Soooo much more mantel to love.

My old stuff is swimming in all the new space:


I mean, seriously!  Look at those candles!  I could fit at least two more up there!

Here's a closer look at the difference:

Even though it's a bigger shelf, it's not overwhelming to the space:
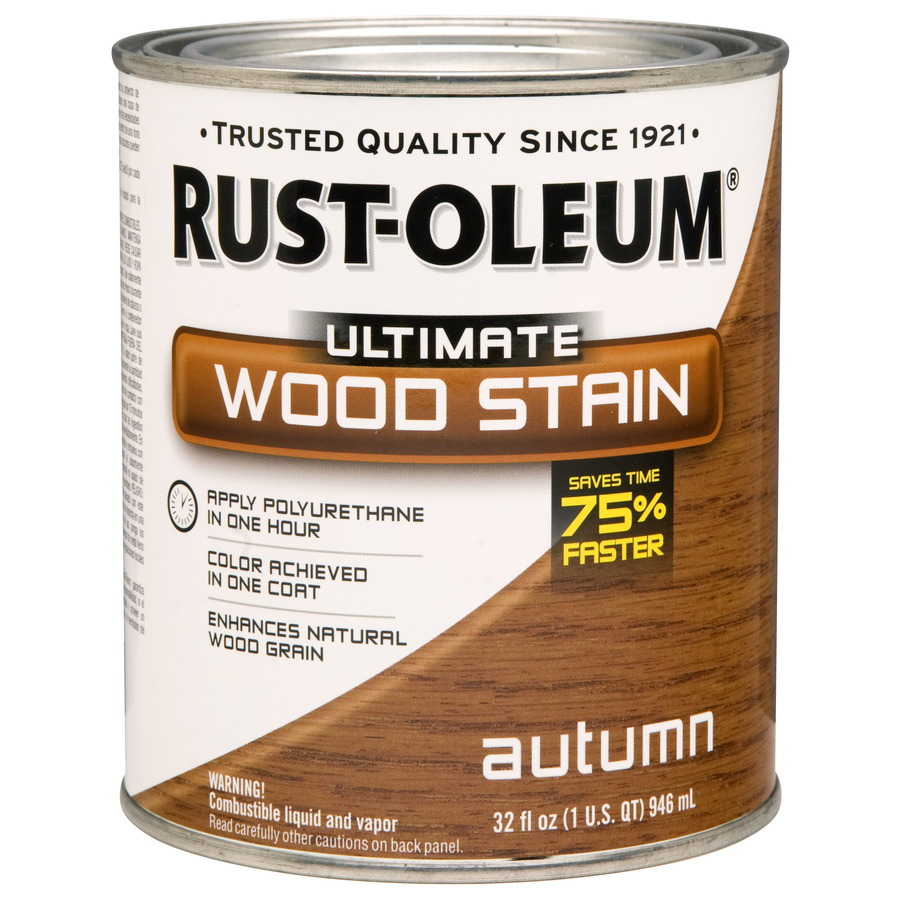
It juuuust right.

The stain I used is called "Autumn."
I got it at Lowes.

It only needed one coat.

And I really like how the shelf color kind of matches my baskets, that go underneath the side tables:


I'd like to say I planned that, but it was mostly accidental ;-).

I did a little distressing on the finished product, but not much:

I may hit it with the hammer some more later.  But, for now, I just want to get used to the new look.  

I'm actually in the process of planning out my Halloween and Fall mantels.  I have SO much more space to work with this year ...  and this is a very good problem to have:


Until next time, 

HUGS!

Trim Paint and Outlet Covers


 August 24, 2013


Small Changes, Big Impacts


Hey there!  I hope you all are having a FANTASTIC weekend.  It's been a pretty busy one for me and my family so far. But, in a good way. :-)

We're getting ready for a family boating vacation next week.  (Eeee!  So excited!!)  We haven't had much time for home improvements.

BUT.

We did get a few small things done, and I think they're the kind of changes that have a big impact.

I'm talking about redoing trim paint, and replacing outlet covers!

That's some exciting stuff, right?

Actually, no.  Who am I kidding??  It's really not.  It's actually pretty boring stuff.  And, honestly, that's why I overlooked the tasks for so long.

BUT, now that I've finally finished doing both ... I wish I'd gotten around to things sooner!  Everything looks so much nicer!

First, let's talk outlet covers.

I just had the plain, cheapo, lamo ones in my kitchen:


And no offense if they're the ones you have.  Trust me, I'm not judging.  I had them up until yesterday!

They just don't say much.  You know? 

I knew I still wanted white ones.  Mainly because I wanted them to fade into my white beadboard backsplash, that you can kinda see here:


I just didn't want them to be all like, "HELLO! LOOK AT ME! OUTLET COVER IN DA HOUSE!!"

But I definitely wanted some more character out of them.

So, I decided to go with these guys:
They're still pretty plain.  But, like I said, I wanted that.  I didn't want my outlet covers to be movie stars.  

I just wanted a tiny bit more detail and charm. 

And these do that for me.  Here's a before and after:

Don't you just love how my old ones had paint marks on them and everything?  

LOL!!

I am sooooo classy. 

Here's another before and after:


So much better.  I think they're just the right touch of that extra little *something*.  

But, ok, enough of that ... let's talk redoing trim paint now.

This work also took place in the kitchen.  The trim in there needed a redo in THE WORST way.

So, I whipped out the semi-gloss, Ultra White paint.  Semi-gloss is the most durable, so I always use it for trim.  And I'm a Valspar kinda girl:

Of course, I used painter's tape ... because I'm messy:

Sure, putting it up adds prep time, but I never regret doing it.

I always wipe the trim clean before painting.  Definitely DON'T want to paint over dust.  Or spilled food.  Etc.

OOH!  And, for trim work, this is my FAVORITE brush:

It allows me to be as careful as I need to in the "un-tapeable" areas:

And speaking of tape, this picture shows *just* how much it's needed:

Holy white stuff smeared everywhere!

Also, did you see that little dent up there?  Here's a shot of it, before and after painting:
Isn't it amazing how much better it looks, just with a little bit of paint?  I swear, you can't even see it anymore from a normal distance.

YAY!

The space looks much cleaner now:


So, like I said at the start:  Small changes, but big impacts!

A FULL kitchen reveal is coming one of these days, I swear ;-).

And until next time ... enjoy the rest of your weekend! 

Hugs and love.


Wednesday

Refinishing Kitchen Cabinets

August 21, 2013

From "EW" to "Oooh!"


OK, let me start by saying: I am MORTIFIED to share my former kitchen cabinets with you guys.  

Holy cow. They. were. HIDEOUS.

Most of the kitchen was, actually.  But, that's a future blog post.

The cabinets were easily the worst part of it all.  And they were so DIRTY. (Ewwwww.)

They'd been in my house since it's birth, some time in the early 1700's.  (Ok, 1970's ... same thing.)

And I don't think anyone ever, EVER, cleaned them - before I moved in.  Not even a little bit.  

Since I've only lived here for five years, that makes what?  At least 30 years of grime and grease?

YEAH. Gross.

So are you ready to see them?

Here we go:


GAHHHHH!!  

I feel as though I should run and hide out of embarassment!

Seriously though, weren't they SO gross?  Lucky for you guys, the hubs had already removed the hardware when I snapped this picture.  Because, wowza, THAT stuff was BAD.  It was gold, and as you can see from the holes, it was in the middle of each cabinet ... sooooo weird.
 
I am very happy to report that my cabinets no longer look like that!  

Here they are today:


Ahhhhhhhh.

I think I hear angels singing.

Seriously though, it is SO nice to say "Oooh" instead of "EW," when I walk into my kitchen.

Getting from the before to the after just took a little bit of wood filler, A LOT of sanding, and then some patient painting.  

The wood filling was easy.  A little bit of this went over each of those old hardware holes:
{Source}

And BAM, it was like the oddball, middle-of-the-door, holes never existed.

But the sanding ...

My word, the sanding was awful.  

The grease build up was so bad that the first rub with the sandpaper would merely clean off the dirt.  

Lucky for me, my husband's done most all of the heavy lifting in the sanding department.  Because, ugh, I just ... HATE sanding.

The first thing to sand were the built in compartments of the cabinets:


The hubs used a power sander for most of this work.  So, that part was easy.


And some of the cabinets were treated with the power sander as well - on the flat surfaces. As you can see with the one on the bottom left up there.

But, most of the work had to be done by hand, in the garage, once the doors and cabinets were off. The grooves needed 60 grit sandpaper, and 120 grit was used for the rest.

While he worked on sanding the cabinets, I started priming and painting the built-ins.  That was way easy.

And once the sanding work on the cabinets was done, the real painting job began. 

I primed: 


and primed ...


and PRIMED.  

I used KILZ, as shown in the picture above.  And I gave each cabinet door three coats of the stuff, on both sides ... with each coat drying in between. 

I used a cabinet roller most of the time:
{Source}


But, I did have to use a brush for some of the corners.

After I finished priming I did two coats, on each side, of the Valspar, Paparazzi, paint I picked.  I used the "Paint and Primer in One."

Then it was time to put on the new hardware!  A little drilling here, and little screwing there, and WA-LAH!


It's like all that "EW" never even existed. :-)

Here's a before and after:


Mmmmm, I just love that after so much.

I cropped most of the pictures reallytight, because the cabinets are NOT the only change we've made in the kitchen.

I plan on doing a "Kitchen Reveal" post, some time in the near future. ;-)


If you've got kitchen cabinets that are making you say "EW," and not "Oooh," I hope this inspires you.


Hugs!

Monday

Stain-tastic

August 19, 2013

Staining: A New Love Story


Happy Monday everyone.  I hope this post finds you well. :-)

As I may have mentioned to you before, I've got about a BAZILLION projects going on in my home right now.  (Give or take a few.)  And, among those bazillion, are several staining projects.

I'm new to staining, so these projects are very exciting for me.  I've always been a painting kinda girl, but my husband's been showing me the "staining ropes," and I. AM. LOVING IT!

Honestly, I was always a bit scared of staining for some reason.  Not sure why. I guess I thought it would take so much more refined skill than it actually does.

Now that I'm staining though, I am SO impressed with how inexpensive it is, and how PRICELESS.  It's amazing what it can do for an old, or even new, piece of furniture.

*OK, stop blabbing Ashley.*

IT'S PICTURE TIME!

Here is the first piece of furniture I ever stained:


My husband built this beauty for our mudroom.  It's a two piece floating shelf/bench combination.  We just recently moved it into the space, so it's lacking in decor.  BUT, the stain ... isn't it gorgeous?!

Here is the before and after of the bench:


Amazing!!

There's a tiny uncovered spot at the top right of the bench, because the glue used to hold the frame together just REFUSES to absorb the stain in that spot.  If I really wanted to, I could dabble some dark paint in that area.

But, I don't mind it.  So, I'm gonna leave it.  And I'll call it "charm." :-)

Now, I'm gonna rewind a second, just to share the most important DIY details I can remember.  

Here we go:
  • All it took to get from before to after was a little bit of sanding, one coat of staining, and then PATIENCE. I used this Ebony stain.

  • And I definitely wore some latex gloves, because I am MESSY.  And you do NOT want to get stain on your skin. 
  • I put the stain on the furniture with a cut-up, old t-shirt.  I simply dipped the shirt into the can, and then rubbed on the Ebony... getting a nice even coat of prettiness on the shelf and bench. :-)
  • After letting it dry for 24 hours, I my husband did a light sanding over everything, and then one coat of polyurethane.
  • I waited another 24 hours and then did a second coat of poly, only this time just on the top of the bench.  I didn't want the piece to be too shiny, but the top definitely needed the extra poly protection. 
  • Also, I made sure to cover the ground of the work space, to catch drips.  And I did the work in my OPEN garage, because man -- this stuff can get stinky!!

Here's a look at the work in progress, on the floating shelf:


You can see why I needed the cover for the ground. :-)

I am SO excited with how this project turned out.  Here it is again, all finished and wonderful:


I absolutely cannot wait to decorate it!!

Maybe after this post :-).

But, first ...

It's time to show you my second staining project EVER.  This is a BEFORE picture:


My father-in-law actually built what you see up there. It's very old, and it was in desperate need of some TLC. 

So, THIS journey started with a lot more sanding than the last:


As you can see, my two-year-old even helped long enough for me to take her picture.  ;-)

She eventually ran off though, and out came the power sander: 


My husband did most of the sanding for me (again) because, honestly, I HATE sanding.  I know it's so worth it, but it is SO my least favorite part of any project.  YUCK.


Yay for husbands :-).

After we he was done sanding, I used a stain called Early American this time.

My mother-in-law was around to help me stain this beauty!  She used a rag and I used a small sponge brush like this one:

I bought mine at Lowes

After staining, I wiped a clean rag over everything. Let it dry for 24 hours.  And then it was time for a coat of polyurethane!

I may do another on the top of the bench, for extra protection.  But here it is one coat in:


I'm really happy with how well it turned out!  It still looks old school to me, but in a clean way. :-)

Here's the back-to-back before and after:


And here's a close up before and after of the top.  No more scratches and unsightly blemishes:


I LOVE IT!  It's so much richer than it was before, yet the nature of it is still intact.

Needless to say, I will definitely keep this staining streak on a roll.  


BUT, in the meantime, if YOU'VE got a piece of furniture lying around your home right now, whispering to you: "Sand me, stain me ... give me a makeover."  Then go!  Get at it!  ;-)